
Today we are going to talk about the controllers and more particularly the most recently advanced devices in terms of the « smart » management of irrigation scheduling.
These controllers can use two power sources:
• 9-volt direct current from a normal or rechargeable battery
• 220-volt alternating current from the local power supply network.
As the direct current controllers are limited in power and the number of stations they can cover (solenoid valves), we will focus mainly on the 220-volt alternating current controllers which can be connected to as many as 36 stations. However, the operating principle and the main benefits of this new technique are the same, whatever the power supply.
General principle of this « wi-fi » technique
Since the smartphones first appeared in 2007/2008, a little less than a decade ago, there has been a surge in data management systems. In fact, these formidable tools connected to the Internet by a built-in modem allow for information to be accessed on the web at any moment and almost anywhere in real time. The main manufacturers of irrigation controllers have understood the enthusiasm for this technological advance and the tremendous public demand for these tools.
The first irrigation controllers connected to the Internet (via a control box) appeared around 5 years ago.
Mode of operation
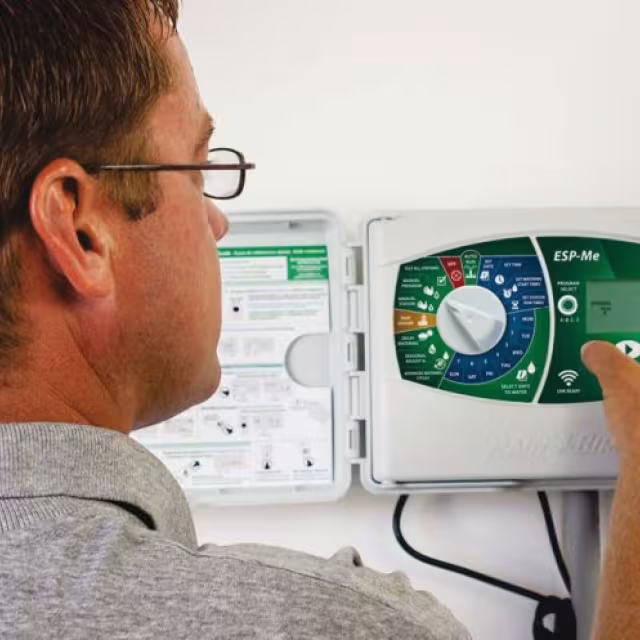
The Wi-Fi-enabled controller will enable you to access easily and remotely all the necessary information.
The main steps for setting up the system are as follows:
• Mount the controller on the wall of the service room.
• Depending on the version (inside or outside), connect the 220-volt power supply directly to the terminal box of the controller (transformer power input 220/24) or even connect the transformer power output (24 volts) to the terminals provided for this purpose (terminals are usually yellow in colour) and connect the transformer to a 220-volt socket.
• Connect the different solenoid valve cables to the terminal box provided for this purpose (you are reminded that each solenoid valve requires two wires: the common wire and the station ‘pulse’ wire).
• Connect the water meter and emitter (an accessory recommended for optimising water management and monitoring flow rates) to the terminal block provided for this purpose.
• Connect the rain gauge (or any other switch contact or relay) to the terminal block provided for this purpose. This rain gauge will enable the user to stop irrigation in the event of local rainfall in the zone where the controller is installed.
• When the above-mentioned basic operations have been completed, you will be able to continue and power up the controller.
• When the device is first switched on, a configuration wizard will be launched and it will search for the nearest Wi-Fi network. Click on the network that belongs to the owner of the installation. Enter your connection password.
• After a few seconds, the controller will be connected to the network in question. It will then be accessible from the “web”.
• When these operations have been completed, you must download the corresponding application. Depending on who the manufacturer is and the options on offer with the application, this could be free or subject to a charge. Generally speaking, a basic application is free of charge, but if more functions are required (number of users, number of stations, connected weather station…) it may be necessary to pay an annual subscription to have the services required by the user(s).
• It will be possible to “create” one or more controllers from the application. Each controller will be characterised by: its name, number of stations, geographical location (post code), sensors connected… but above all the controller will be identified by its unique IP address (a series of figures and letters that make up the controller’s identity card).
• One or more irrigation programmes can be set for each controller.
• Some applications will allow you to have free access to the meteorological data provided by the existing weather stations or those available to the public (i.e. at airports). This valuable information will enable you to manage the irrigation time automatically according to the weather forecasts and information.
Advantages
These new techniques offer several advantages and make the traditional automatic irrigation programming systems appear to be old-fashioned, namely:
• Programming, modification and checking of the system is easily achieved from the armchair.
• Feedback (sensor alerts, water leakage) in real time on the smartphone.
• For a modest cost, irrigations can be increased on the basis of ‘real’ local meteorological information = significant savings on water (around 30% to 50%).
• Savings on time and money by avoiding unnecessary and time-consuming trips to the field.
Conclusion: we are only just beginning to develop this technique. Over the next few years, we can expect an explosion in this section of the irrigation controller market, especially as the cost of the equipment is only slightly higher than that of ‘traditional’ cdevices.